Workshop 2012
Electrically heated insoles
It's cold working in an unheated shed with a stone floor in the winter. I was debating installing a proper space heater but realised that the only part of me that actually got cold was my feet, stood on the stone slab in the drafts by the floor. The solution was obvious: electrically heated insoles!
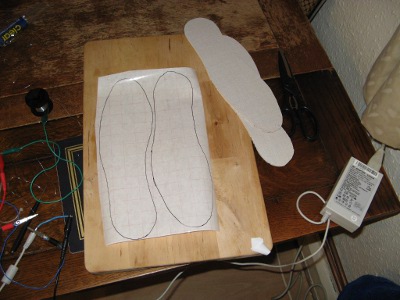
I decided to use some resistance wire taped to the bottom of a normal pair of insoles. I began by tracing the outline of my insoles onto some sticky-backed plastic.
Read more...Published on 15th November 2012.
Fixing the focus on a Canon EFS 18-135mm lens
I managed to break the focusing on my Canon 18-135mm lens recently by smacking it hard against my knee whilst it was around my neck. There's only 3 options at this point:
- Buy a new/second hand lens replacement
- Send the lens in for professional repair
- Try a repair myself
What was broken was that the focus ring wouldn't move through its full range of motion. I could focus on near objects but not far objects and the effect was worse when using the more telephoto portion of the zoom range. The problem was apparent in both auto- and manual-focus modes. In manual focus, I couldn't budge the ring past half way and in auto-focus, the motor would whine with an unusual sound and not manage to move the focus past the same focal range.
Fixing the lens
There are a number of sites which detail fixing other problems on Canon lenses. There is also one site I found which has exploded views and parts lists (see the references section below for full details. Unfortunately, I found no information specific to my lens but unsuprisingly it turns out that mine isn't that different to similar Canon lenses.
Step 1: Removing the lens mount
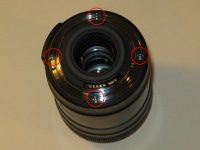
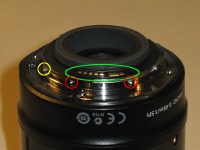
The first step was to remove the metal lens mount from the back of the lens. Begin by removing the four screws highlighted in the first photo. Now the metal ring is free to move but is still attached because the contact strip (green ring in 2nd photo) is still attached. To remove the contact strip, begin by removing the two screws highlighted red in the 2nd photo. Do not remove the screw highlighted in yellow.
Read more...First published on 12th November 2012 and last modified on 15th November 2012.
Zinc extraction and brass-coating copper coins
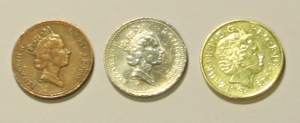
There are numerous videos and descriptions on the internet of how to brass-coat copper coins. The effect can be brilliant when done well so here's how I made my own.

Read more...Published on 13th February 2012.
< Newer articles | Older articles >


